Hey y’all and welcome to Sewspire!
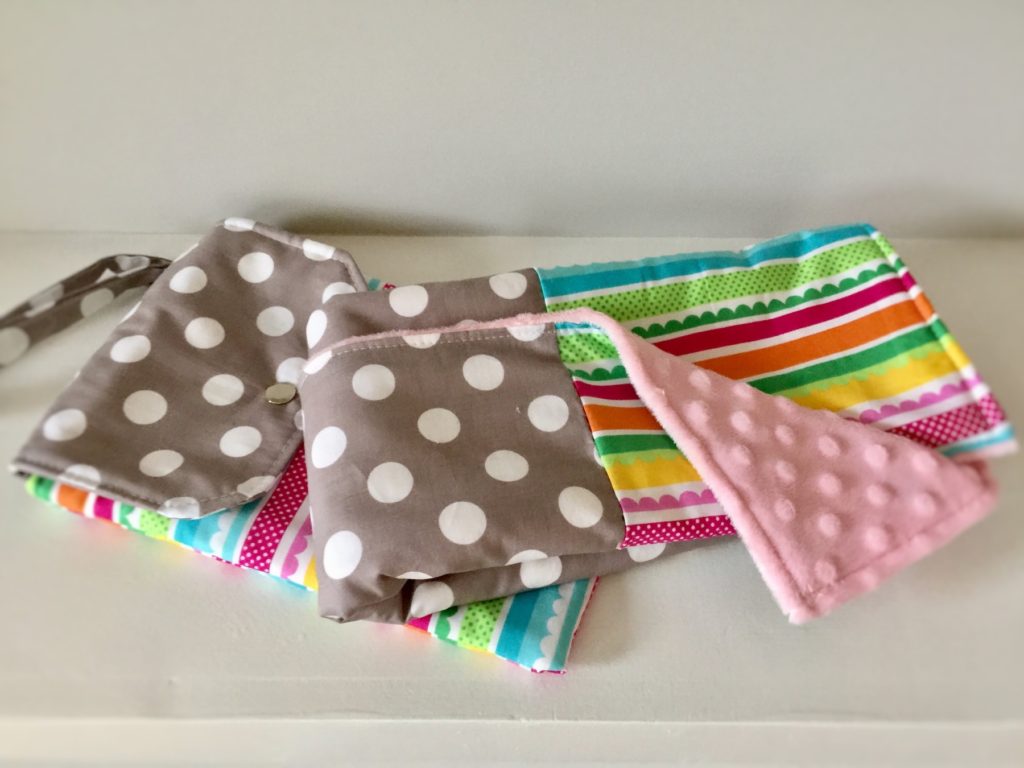
This week I am showing you how to make a diaper clutch with wristlet strap and a changing pad backed with luxurious minky dot. This set is easy and fun to sew and makes a beautiful and thoughtful baby shower gift.
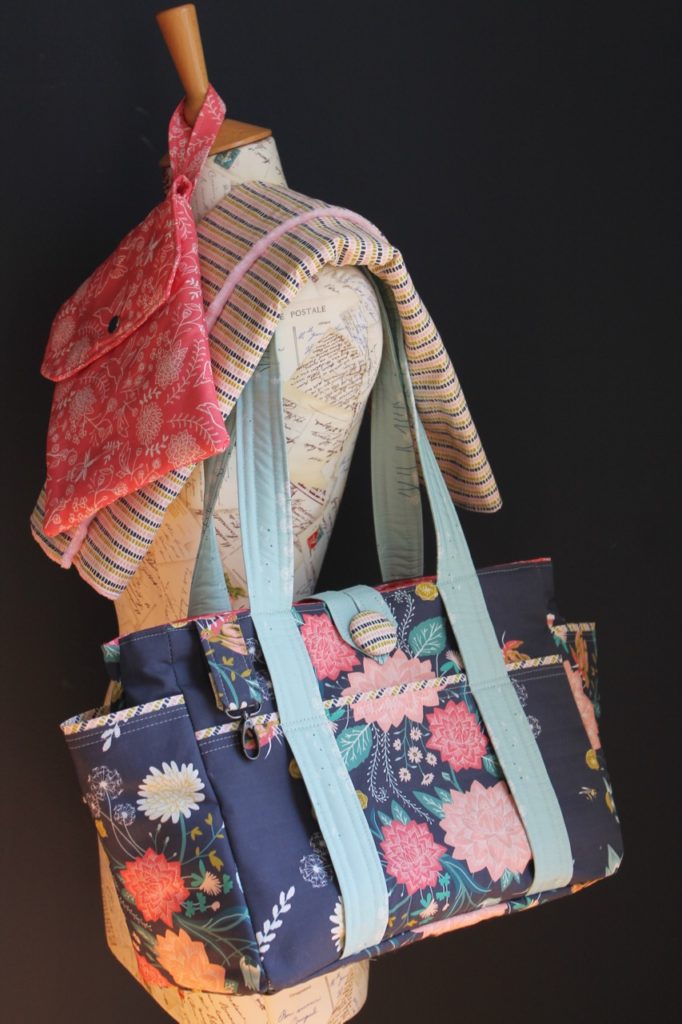
This set is designed to accompany my best selling Zip Top Diaper Bag for which I have published a Sewspire Premium PDF Tutorial.
For this project you will need approximately a yard of quilt weight cotton fabric and a half yard of cotton quilt batting, plus one snap set and a snap tool or small hammer.
The pattern pieces are as follows:
Changing Pad:
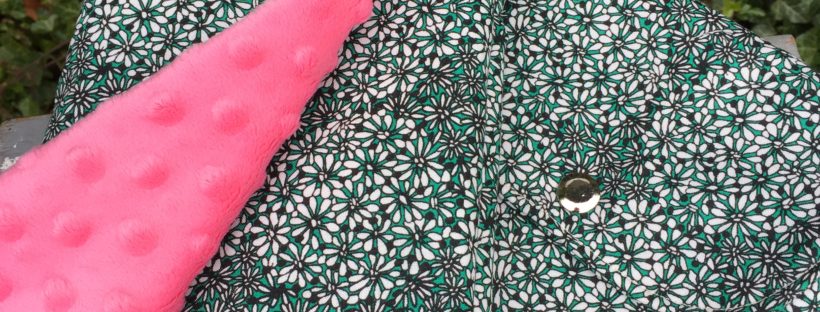
Cut one minky dot panel to measure 18″ wide by 26″ tall
(plus 1 like size piece of batting)
Cut one cotton accent fabric to measure 18″ wide by 8.5″ tall
Cut one cotton primary fabric to measure 18″ wide by 18.5″ tall
Diaper Clutch:
Cut one 3″ x 19″ cotton fabric strip to create the strap
Cut two 8″ x 22″ cotton rectangles to form the exterior and interior
(plus 1 like size piece of batting)
Cut two 7.5″ x 7.5″ cotton squares to fashion the flap closure
(plus 1 like size piece of batting)
I hope you enjoy the video and will share this tutorial and my blog with your creative friends. I will be back next week with another complimentary inspired tutorial.
Until then, the creative genius in me, salutes the creative genius in you!
XO,
Andrea
Comments
One response to “How to sew a diaper clutch and minky dot changing pad”
[…] Bonus Tutorial! […]