
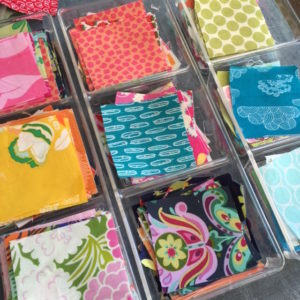
Initially I thought I might use this beautiful patchwork bag as a travel cosmetic tote and then I realized it holds the quilting trays (which I use to teach my classes at the local community center) absolutely perfectly! So, now it is my traveling quilting bag; but, you will certainly want to keep your mind open to the many possibilities that will reveal themselves to you for your own new zippered bag!

I have outlined the construction process in a single 30 minute video (posted to YouTube and linked below) and included the pattern measurement roundup below for your convenience.
As always, please let me know if you need more info or have suggestions as to how this design can be improved. I love hearing from you and appreciate your input. I hope you enjoy the project— and if you feel called to do so—please DO SHARE your ideas as to how you are going to use the bag and photos of your finished project on the Sewspire Instagram and Facebook pages.
XO! Andrea
PATTERN MEASUREMENT ROUND UP
[wc_row][wc_column size=”one-third” position=”first”]
Exterior Base Panel
5″ x 3.5″ (2)
5″ x 7″ (1)
Exterior Front and Rear Panels
3.5″ x 13″ (6)
Exterior Side Panels
3.5″ x 5″ (6)
Zippered Casing
5″ x 13″ (2)
[/wc_column][wc_column size=”one-third”]
Interior Base Panel
13″ x 5″ (1)
Interior Front and Rear Panels
13″ x 9.5″ (2)
Interior Side Panels
5″ x 9.5″ (2)
[/wc_column][wc_column size=”one-third” position=”last”]
Batting
(for the exterior only)
13″ x 9.5″ (2)
5″ x 9.5 (2)
5″ x 13″ (1)
Oh yes, and here is the link to my favorite zipper source, as promised!
[/wc_column][/wc_row]