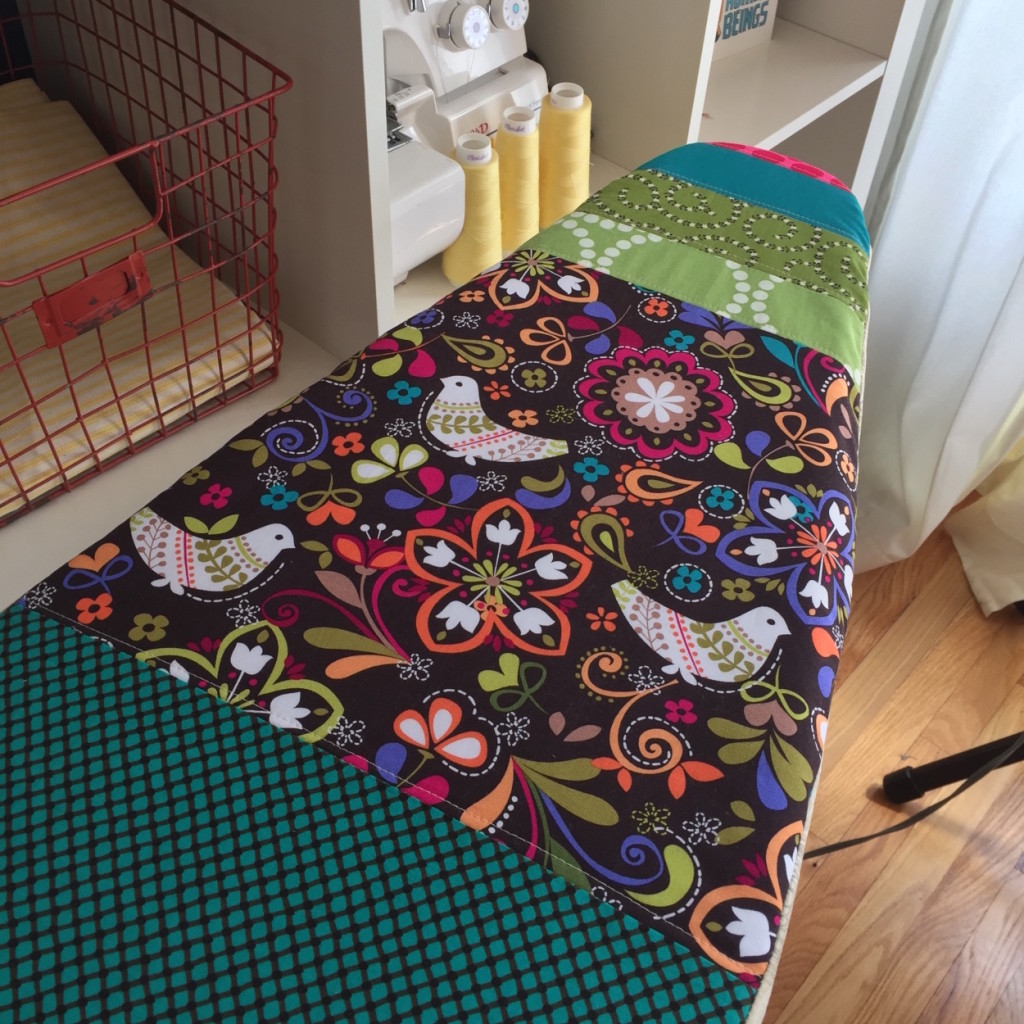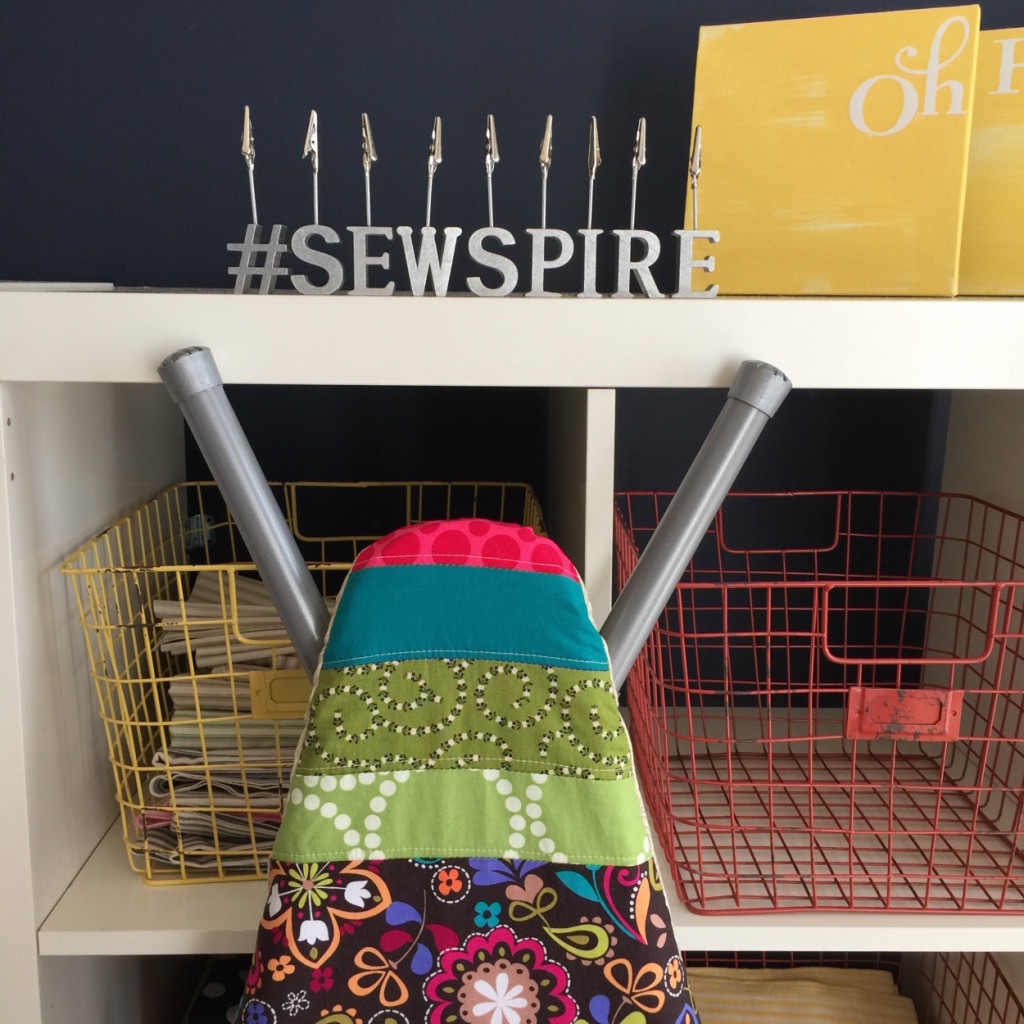
Welcome to Sewspire! This week in our secret and wee bit selfish sewing circle we are designing and sewing a custom ironing board cover with patchwork detailing. This particular cover will fit a standard ironing board which measures approximately 52″ x 14″ and comes together in less than an hour! I have outlined the construction process completely in the following 30 minute video tutorial and have included a summary of the pattern measurements below so that you have a quick reference guide for future use.
For this project you will be using 5 coordinating fabrics, plus an accenting trim fabric to create a one of a kind ironing board cover.
You will be using fabric remnants for the front of the ironing board cover and a half yard of cotton fabric for the trim. In addition, you will also need a 52″ x 13″ piece of quilt batting and 120″ of quarter inch ribbed elastic.
To begin, cut one of each in the following pattern pieces using the original measurement dimensions listed below and then taper the original piece so that it will fit the tapered measurements by folding each piece in half and using the X and Y axis points indicated in the taper points. (This will make perfect sense after you watch the video!)
In addition, you will also need 147″ of 3″ wide trim. Simply cut four 42″ x 3″ strips of fabric from a half yard of cotton fabric and sew those together to attain the 147″ of trim.
[wc_row][wc_column size=”one-third” position=”first”]
Original Measurements
6″ x 2.5″
7.25″ x 2.5″
9″ x 3″
10″ x 2.5″
14″ x 13.5″
14″ x 33″
[/wc_column][wc_column size=”one-third”]
Tapered Measurements
6″ x 5″ x 2.5″
7.25″ x 6″ x 2.5″
9″ x 7″ x 3″
10″ x 8.5″ x 2.5″
14″ x 10″ x 13.5″
14″ x 33″
[/wc_column][wc_column size=”one-third” position=”last”]
Taper Points
2.5″, 3″
3″, 2.75″
3.5″, 3″
4.25″, 2.5″
5″, 4.5″
None
[/wc_column][/wc_row]