 [wc_row][wc_column size=”three-fourth” position=”first”]
Session III: The finishing touches
Session II: How to sew the interior
Session I: How to sew the exterior
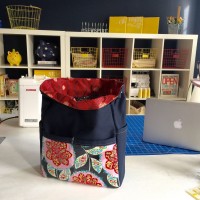
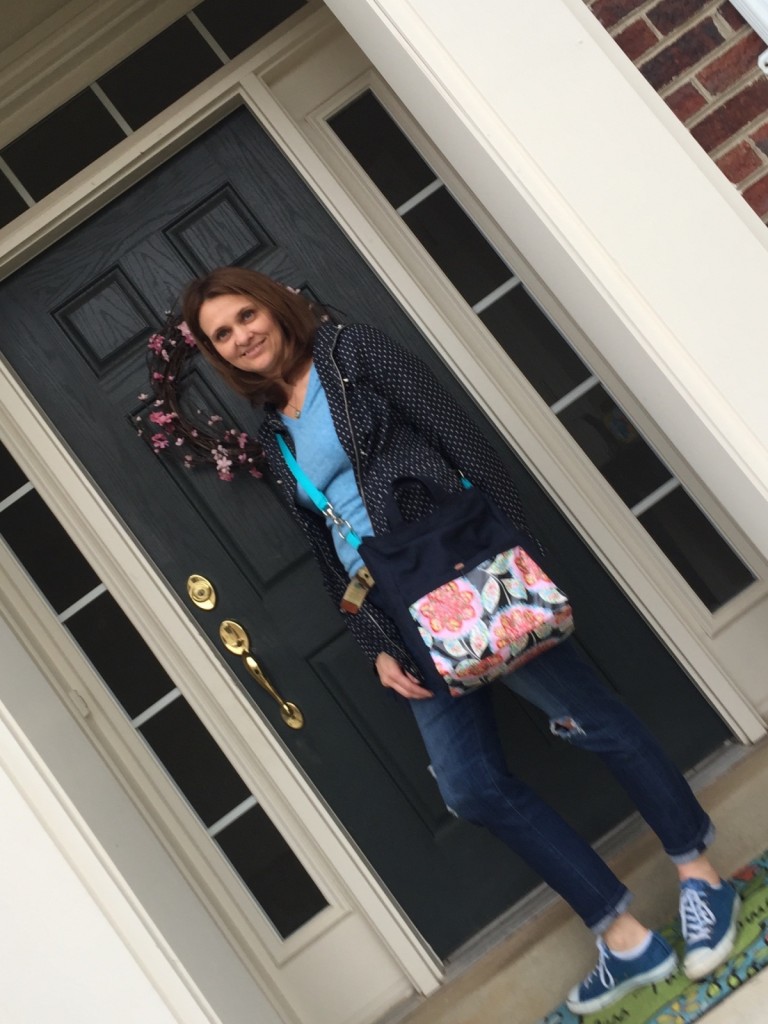
Welcome to Sewspire! Today we will be designing and creating a fabulous tote bag that, as the name implies, is perfect for traversing the big city! I spent the better part of our 2016 Spring Break touring Washington, DC and decided what I really needed was a lightweight, yet durable, tote bag that could hold our essentials and was comfortable and versatile to wear.
In this first session video we will be assembling the exterior of the bag which encompasses a laminated base and 4 laminated pockets as well as two side pockets which are crafted from the same medium weight navy twill as the body. If you have ever sewn with laminated cotton fabric, then you know that it can oftentimes mount resistance as it makes contact with the metal sewing machine foot. There are specialty feet designed to make working with this type of material virtually stress free and there are methods, which require no special accessories, to circumvent the resistance which I have demonstrated in the video tutorial.
In the second session video we will be designing and assembling the interior compartment which features 7 interior pockets and a padded divider to protect your camera and electronics while traveling.

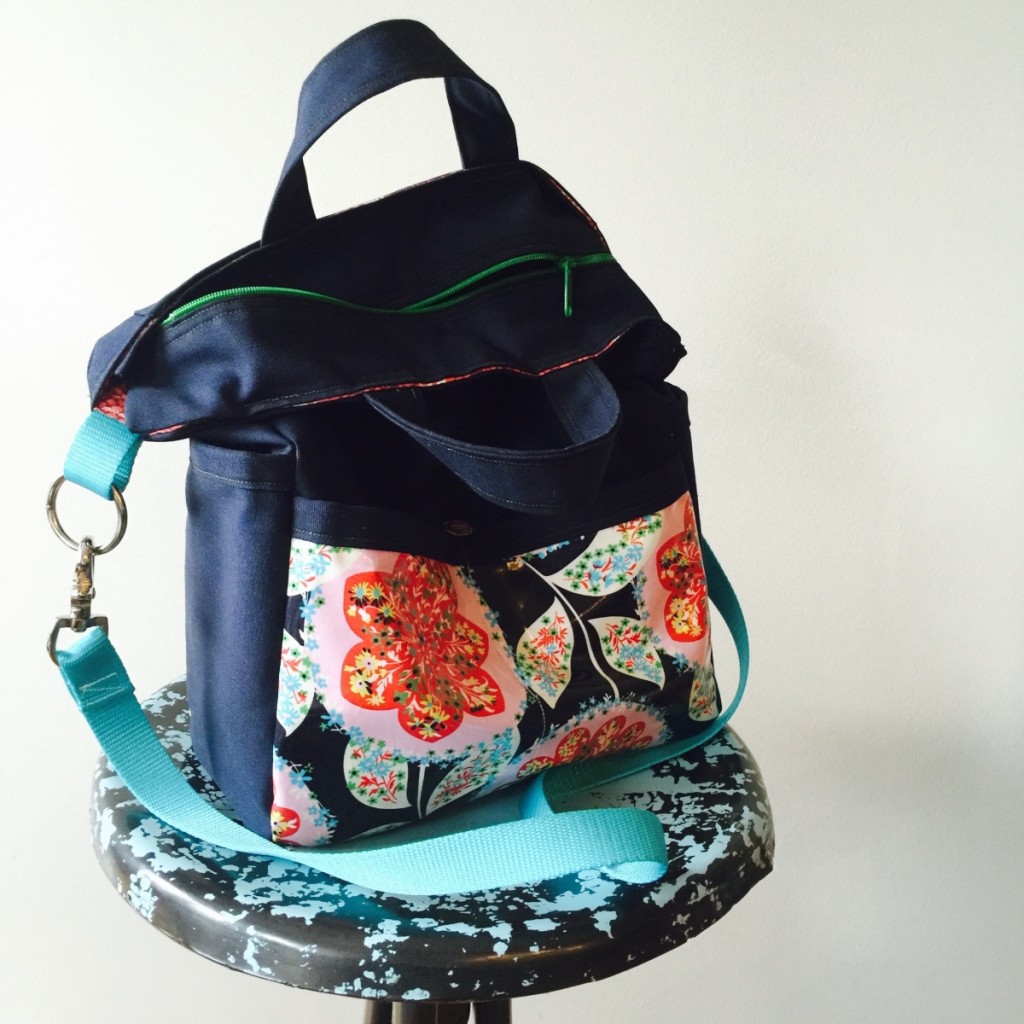
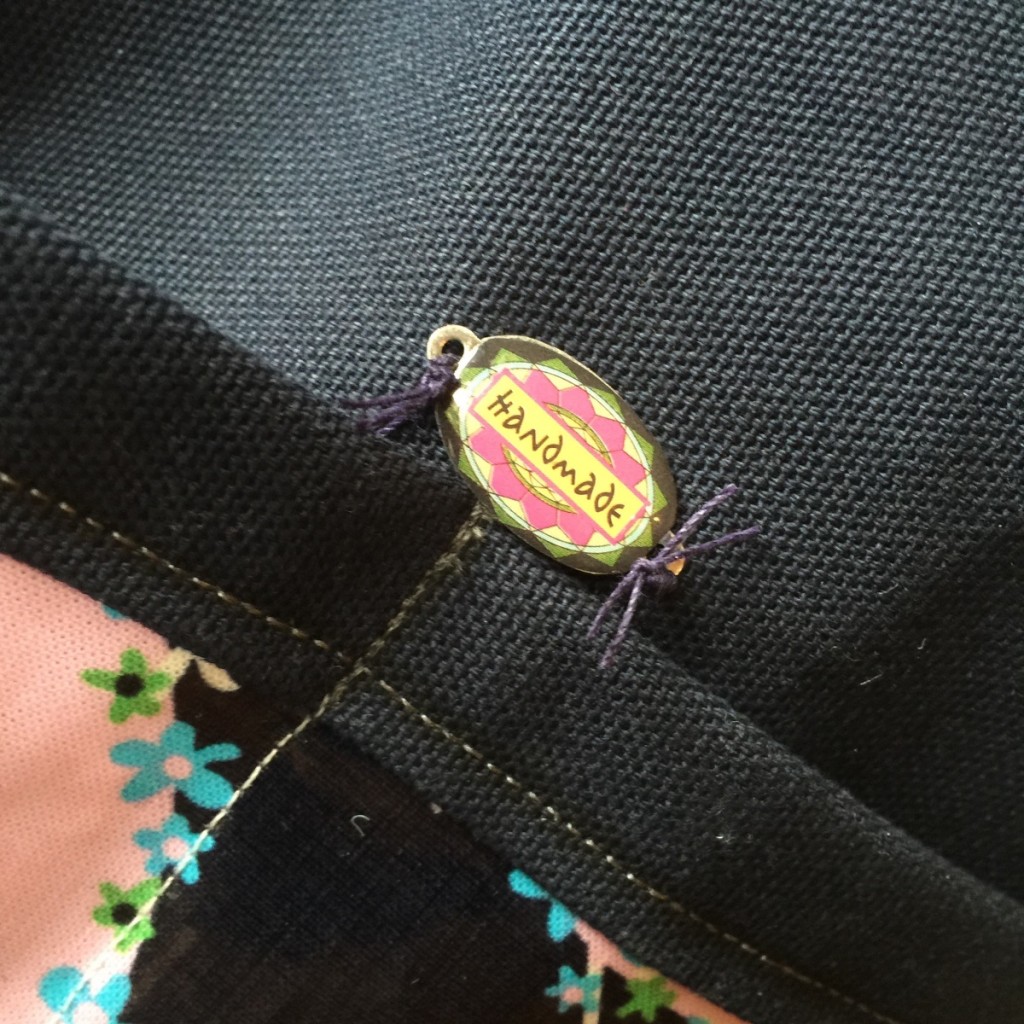
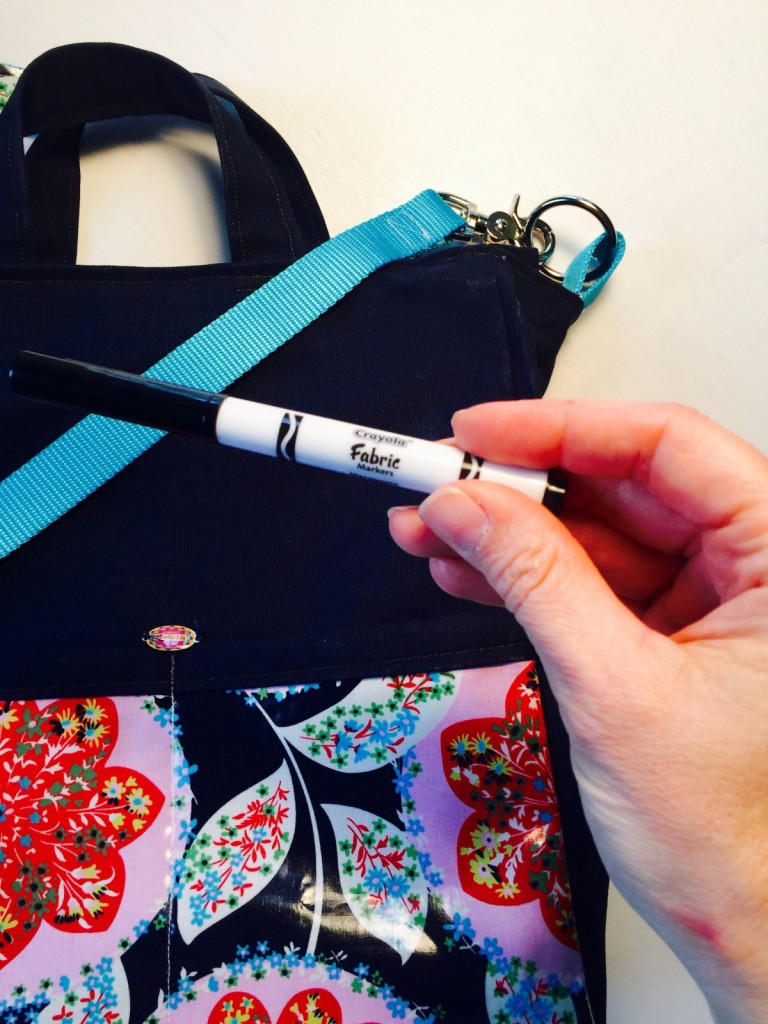
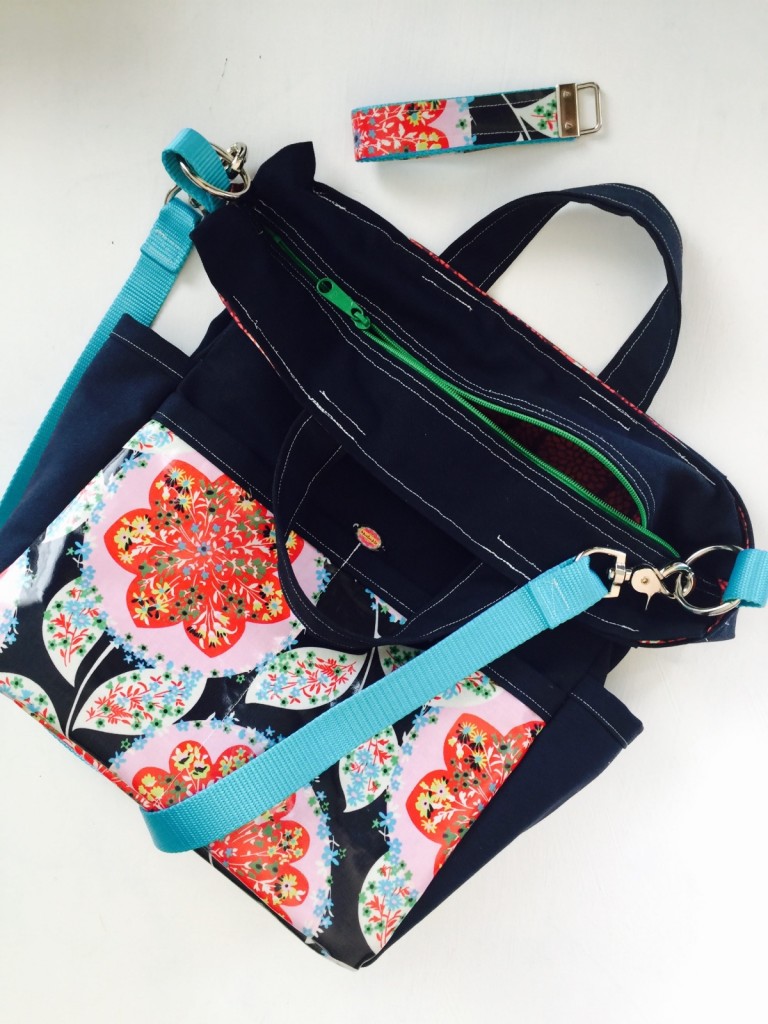
In the third and final session we will be incorporating the zippered top closure and assembling the bag straps. You can find lots of brightly colored zippers, here on Etsy, from my favorite zipper source. In the pictures below, you can see that I further embellished my bag by hand stitching a little charm to the front of each exterior pocket. I also fashioned a key fob from the scraps I had leftover by creating a 10″ strap from the twill (just like the short handles are made) and then stitching a strip of laminate on top and attaching some fob hardware to the end. You may also notice that in the video I stitched the bag with white thread, which is great for visibility in the tutorial; but, a wee bit too stark for my taste…so, I remedied that by coloring over the white thread with a black fabric marker, to create a darker grey thread which coordinates very nicely with the navy twill.
I’d love for us to begin a discussion here about the process and invite you to share your tips, tricks and ideas below this post in the comment field. You will need to create and or log into your Sewspire account in order to comment as to prevent lots of spam from clouding our discussion. If that is too cumbersome, feel free to comment over on YouTube, Facebook or Instagram.
Thank you for checking in and I shall be looking forward to seeing your beautiful City Slicker Totes soon!
XO,
Andrea
[/wc_column][wc_column size=”one-fourth” position=”last”]
Suggested materials for this project:
1 yard Medium Weight Twill
1/2 yard Laminated Cotton Fabric
1 yard Quilt Weight Cotton Fabric
[wc_divider style=”solid” line=”single” margin_top=”” margin_bottom=””]
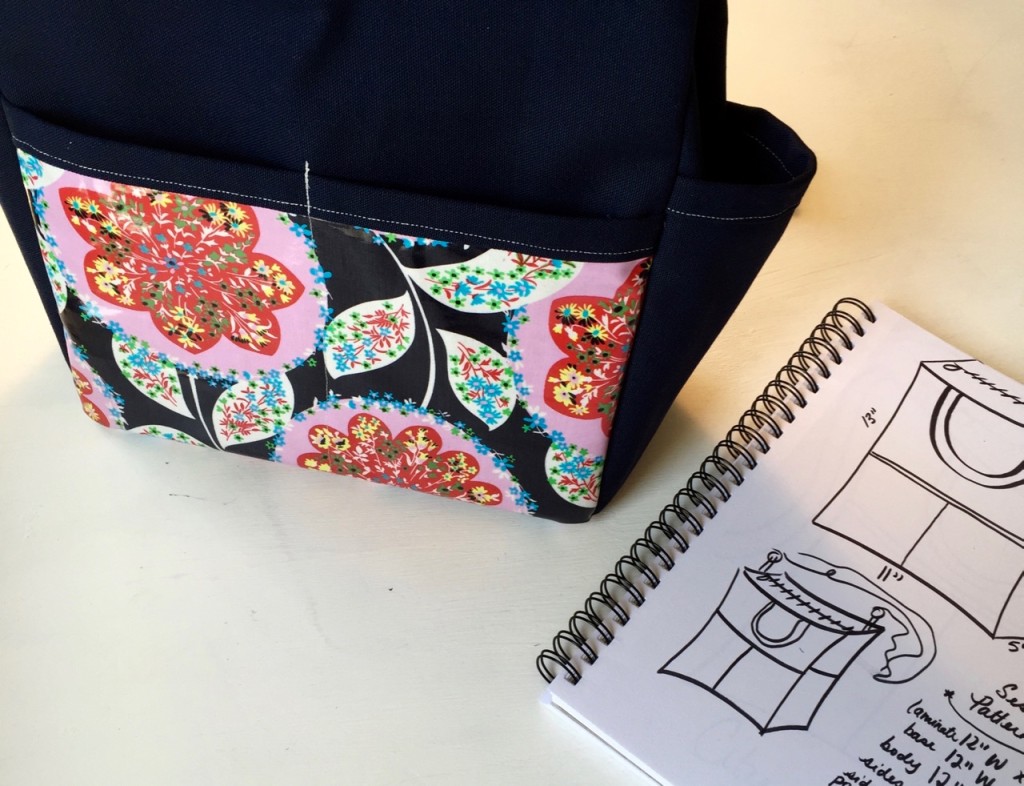
Pattern Measurements (Exterior Session 1)
laminate base 12″ x 6″ (1)
twill base 12″ x 6 (1)
twill body 12″ x 15″ (2)
twill sides 6″ x 15″ (2)
twill side pockets 6″ x 18″ (2)
twill front pocket trim 12″ x 3″ (2)
laminate front and rear pocket 12″ x 7.5″ (2)
Pattern Measurements (Interior Session 2)
body 12″ x 15″ (2)
sides 6″ x 15″ (2)
base 12″ x 6″ (1)
pocket 12″ x 18″ (2)
side pocket 8″ x 18″
side pocket 6″ x 18″
padded insert 22″ x 6″
Pattern Measurements (Final Assembly Session 3)
zipper panels 15″ x 6″ (2)
short straps 5″ x 12″ (2)
38″ of 1″ webbing (1)
6″ of 1″ webbing (2)
[/wc_column][/wc_row]
Comments
5 responses to “How to Sew My City Slicker Tote by Andrea @Sewspire”
Thanks for this great tutorial. I just complete my “city slicker” tote to use as a work bag, and I am so happy with how it turned out. I don’t do a lot of sewing, only a few small zipper cases and tablet cases, so this was a big project for me. The only thing I did differently was to add a couple of zipper pockets. I hate patterns and mostly work from video tutorials, and this is one of the best ones I’ve seen. You showed every step and what each part should look like, which I really appreciated. I’m sure I’ll be using more of your tutorials.
So happy you enjoyed the video!
Hello Sewing Circle Friends! Just checking in to see how your project is coming along. Has anyone finished the exterior yet? I’d love to see some photos. Please let me know if you have any questions.XO, Andrea
I love your videos and tutorials, but I am having a very difficult time navigating on your website. I couldn’t figure out how to post photos, so I posted some on instagram.
Thank you for sharing photos via email! I was able to share the photos with our community on instagram too! I don’t think you can post photos here.