Welcome back everyone! Can you believe 4 weeks have already passed since the launch of this blog? That means I only have 48 more weeks to meet my goal! Luckily I am right on track and that is because you all are so awesome and have been sharing every project. Thank you for the love and support. I especially enjoy reading your emails and comments, so please keep the kind words a coming.
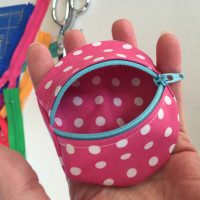
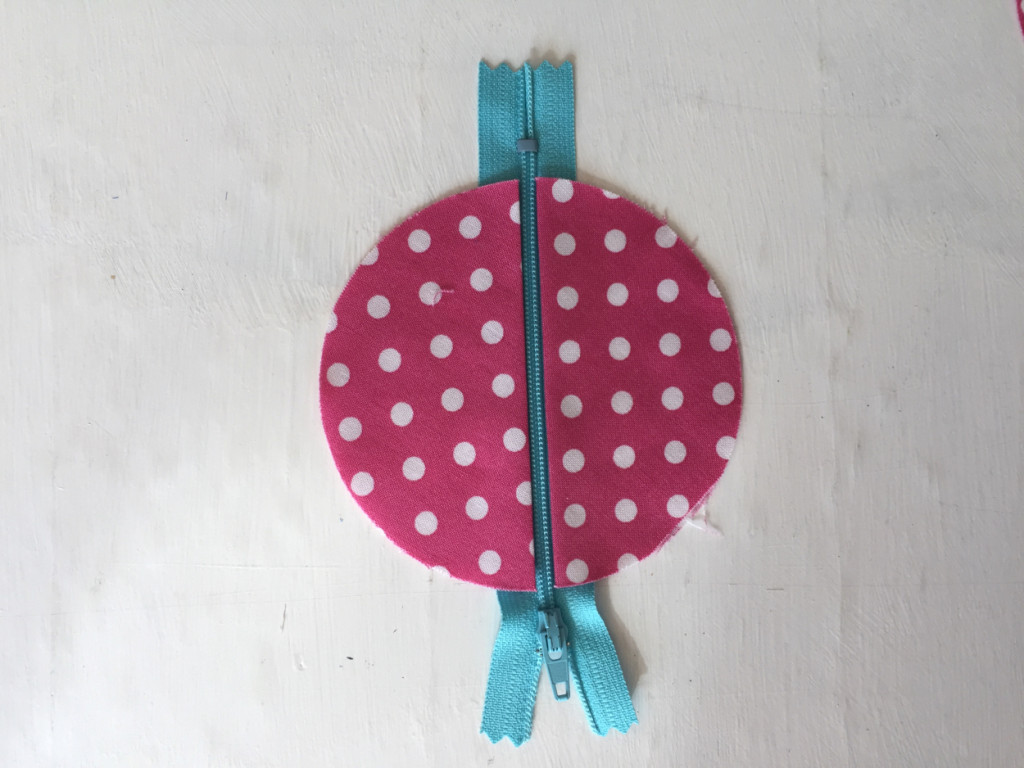
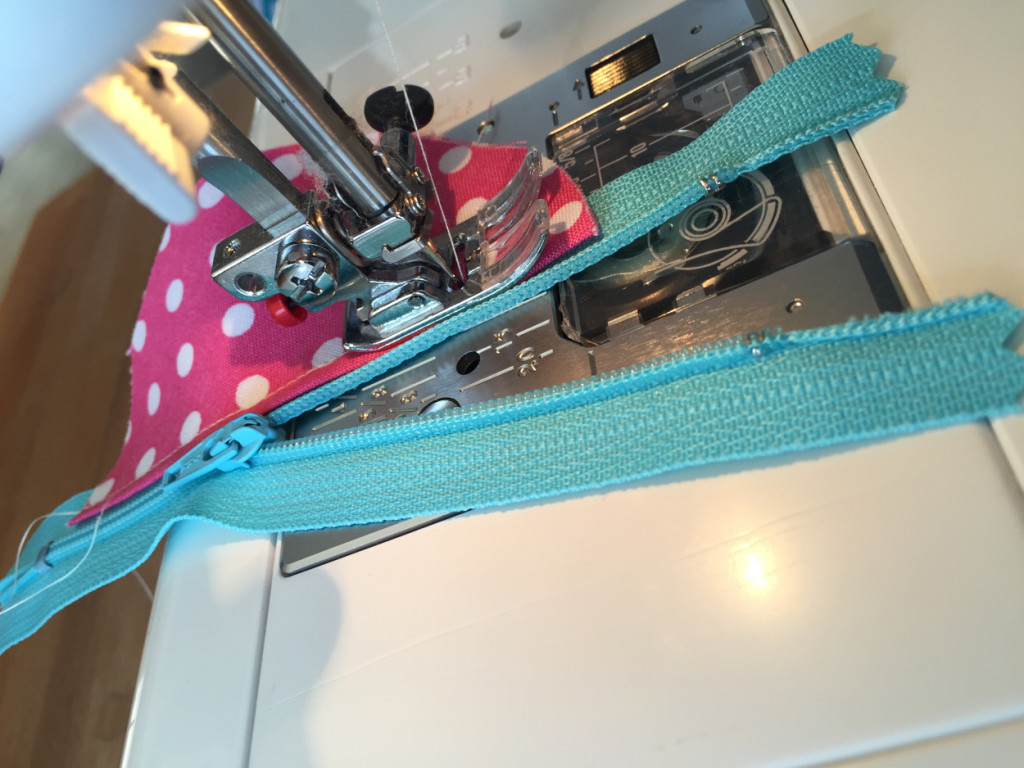
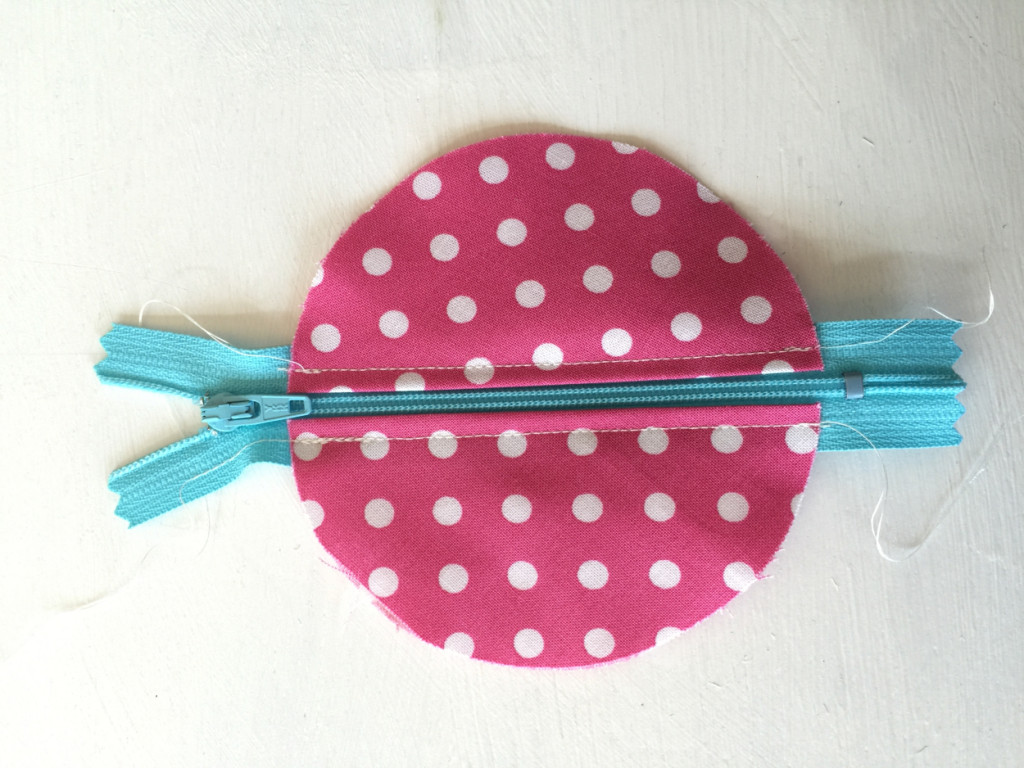
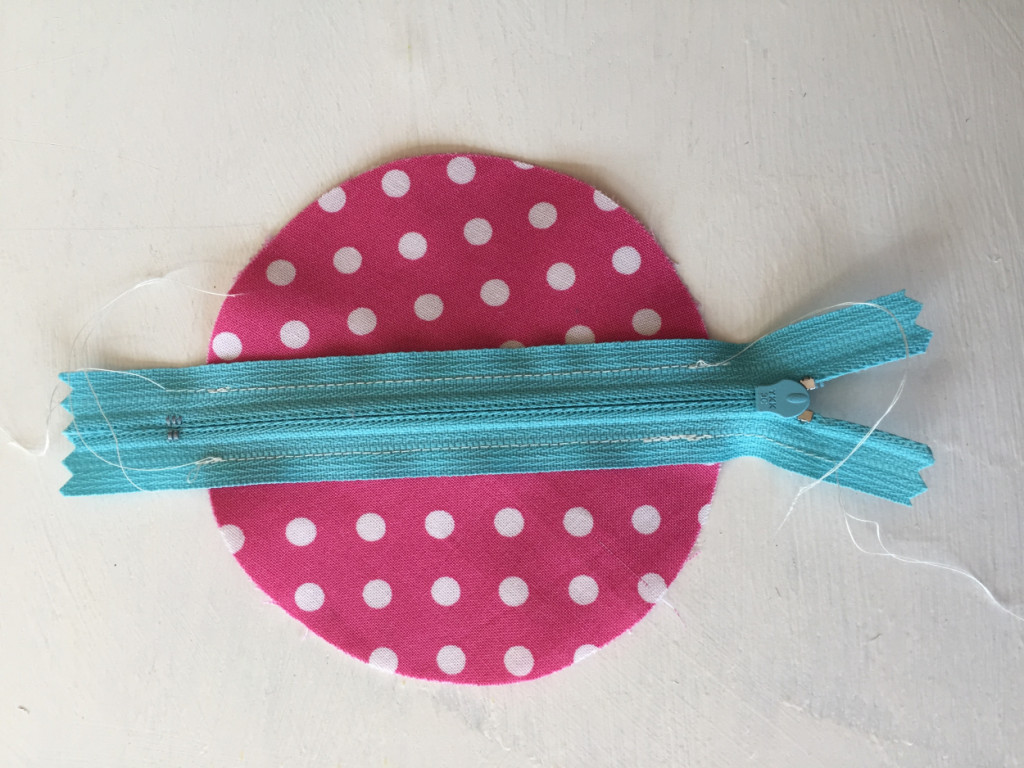
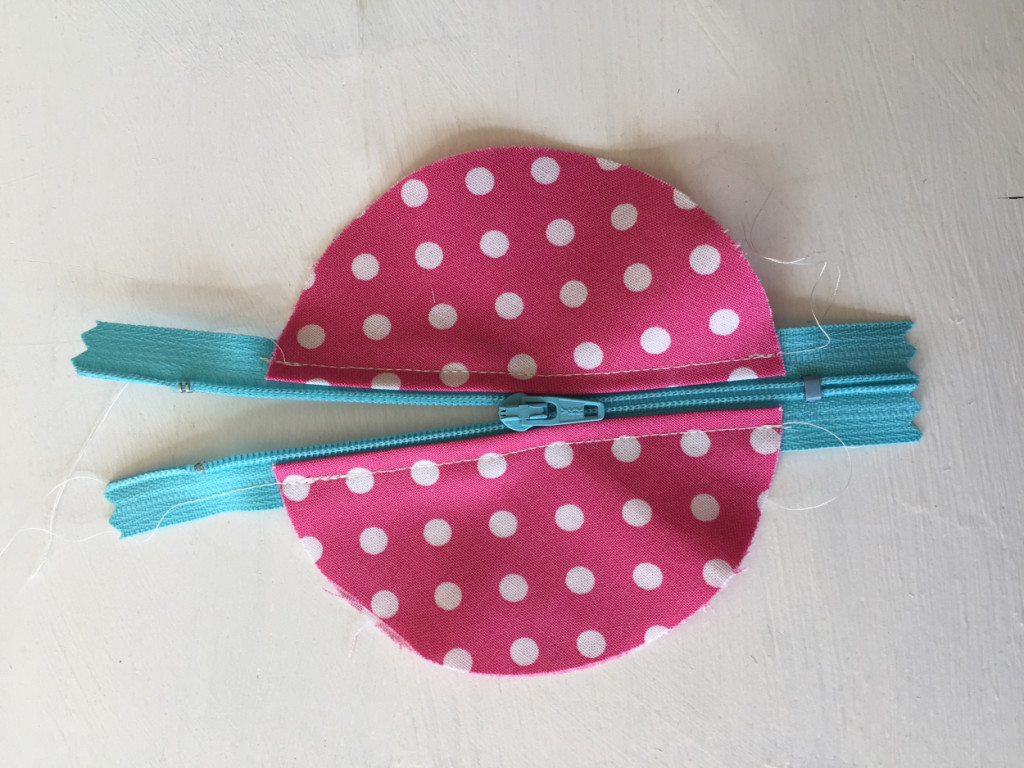
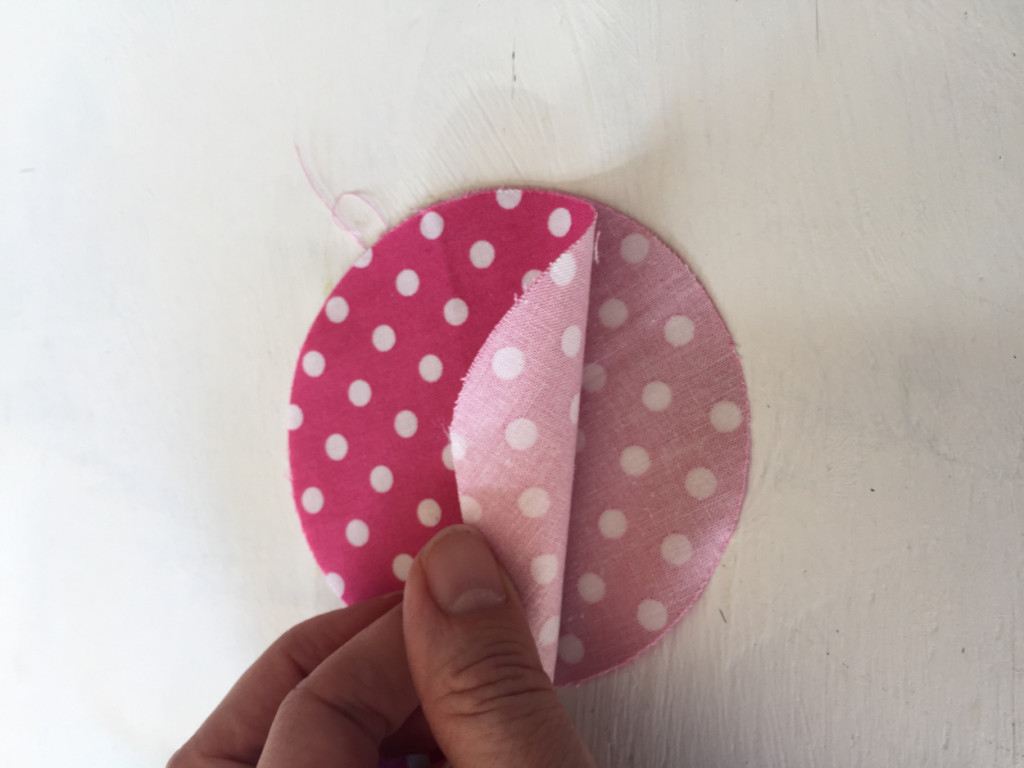
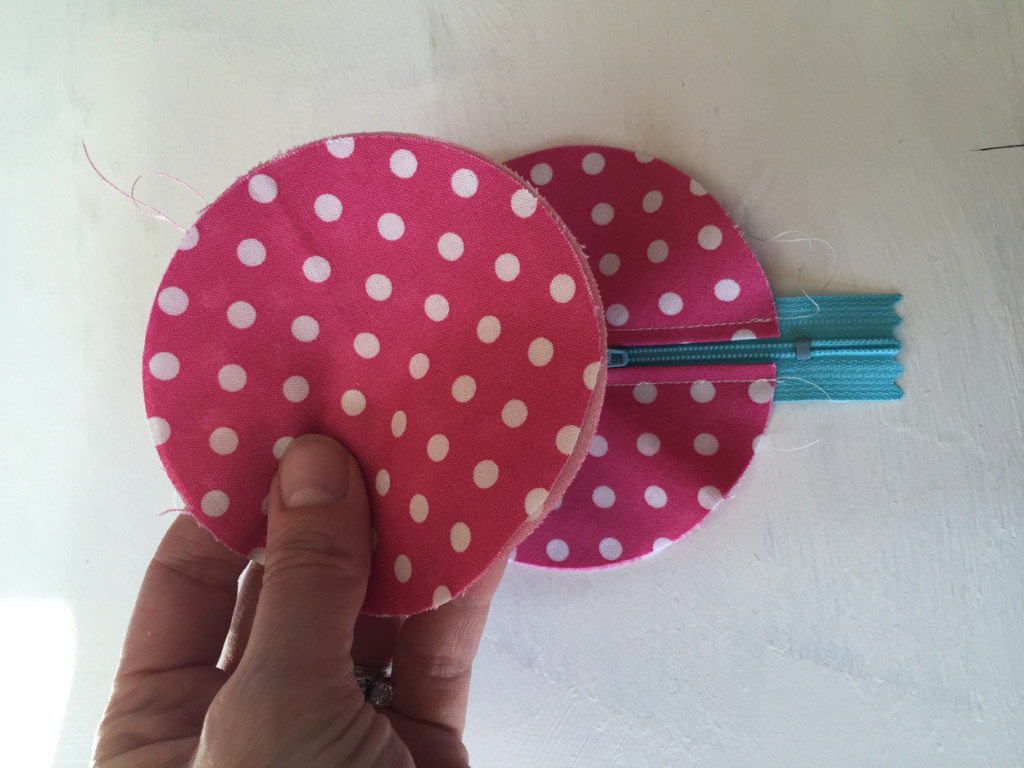
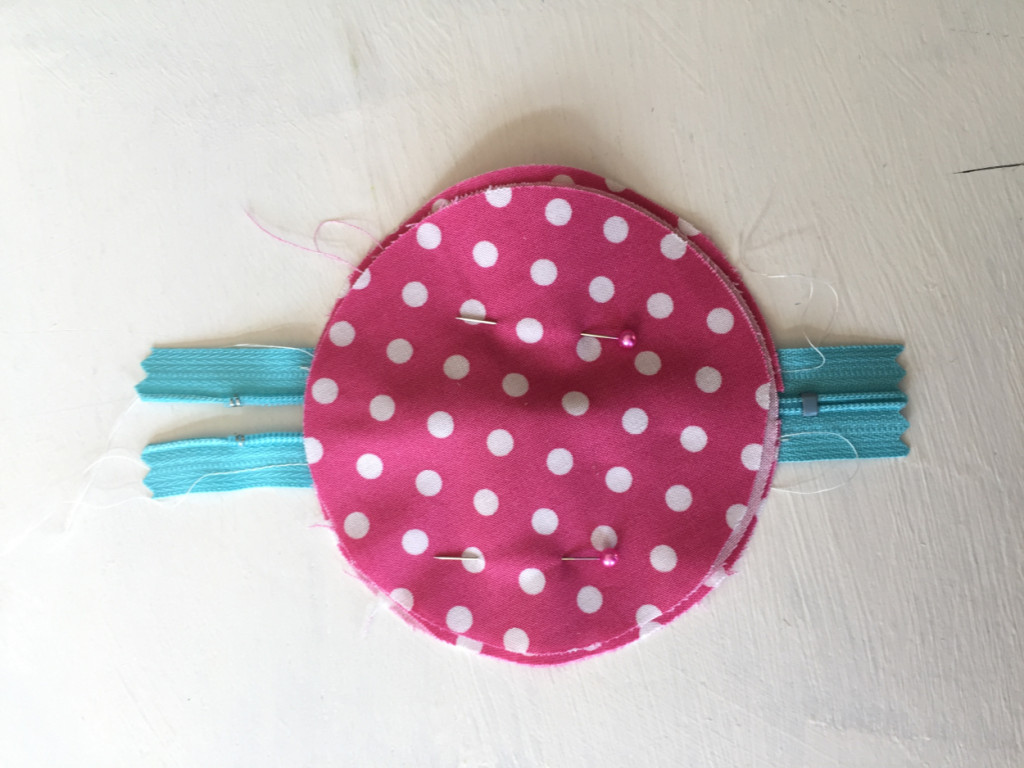
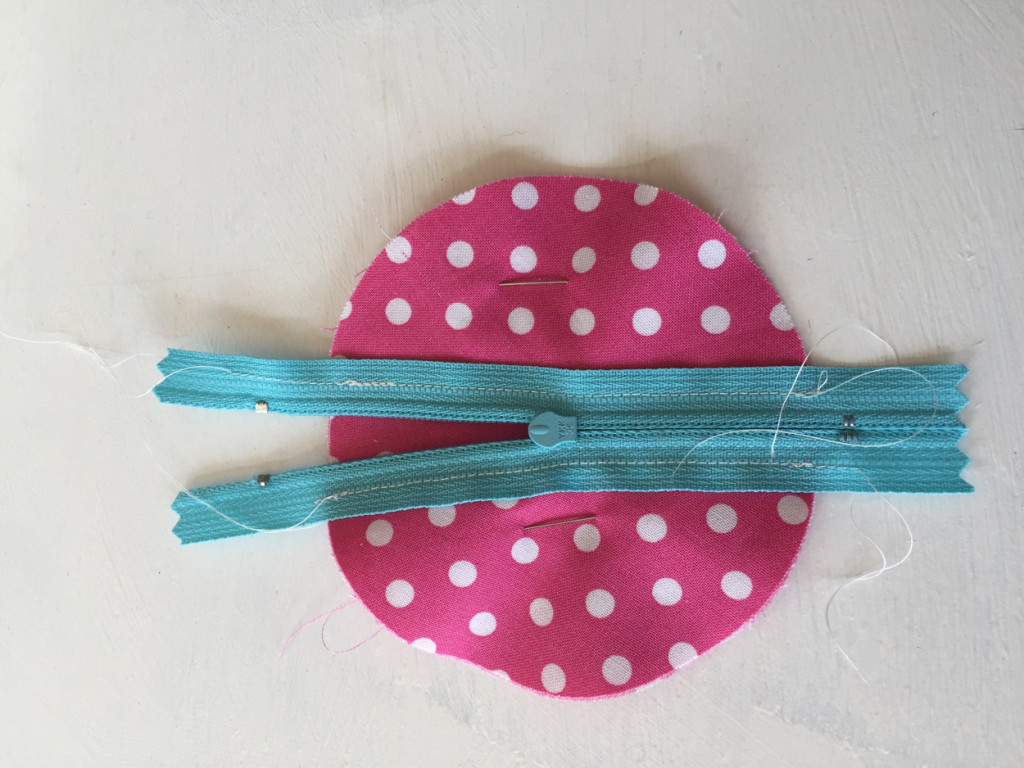
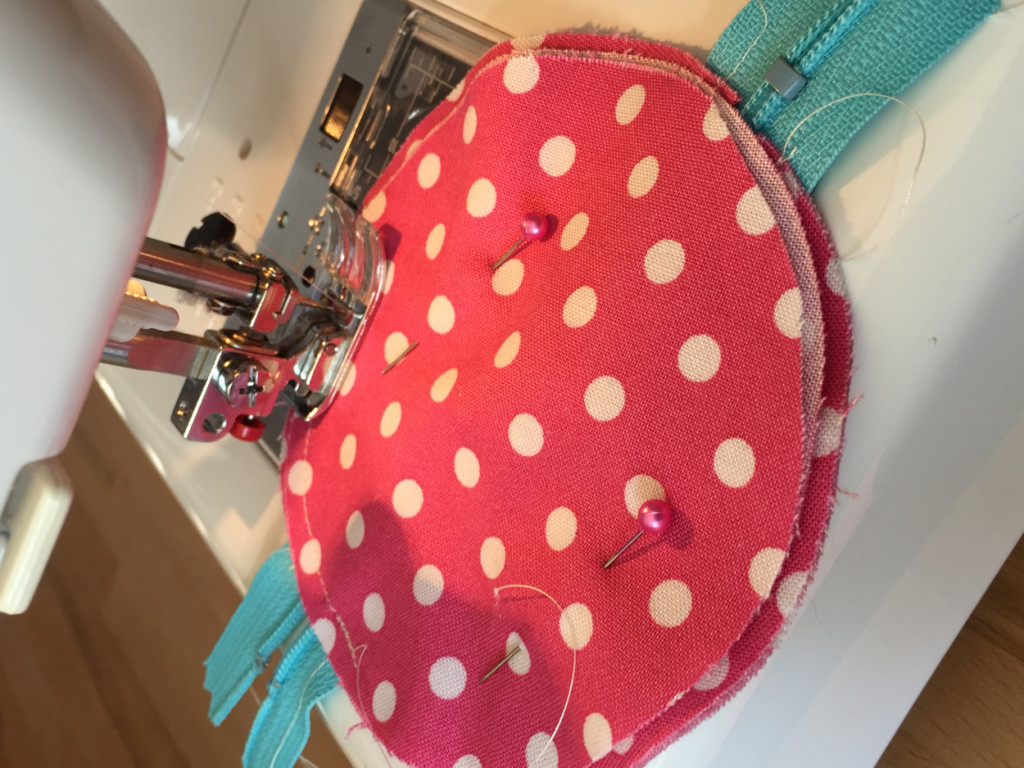
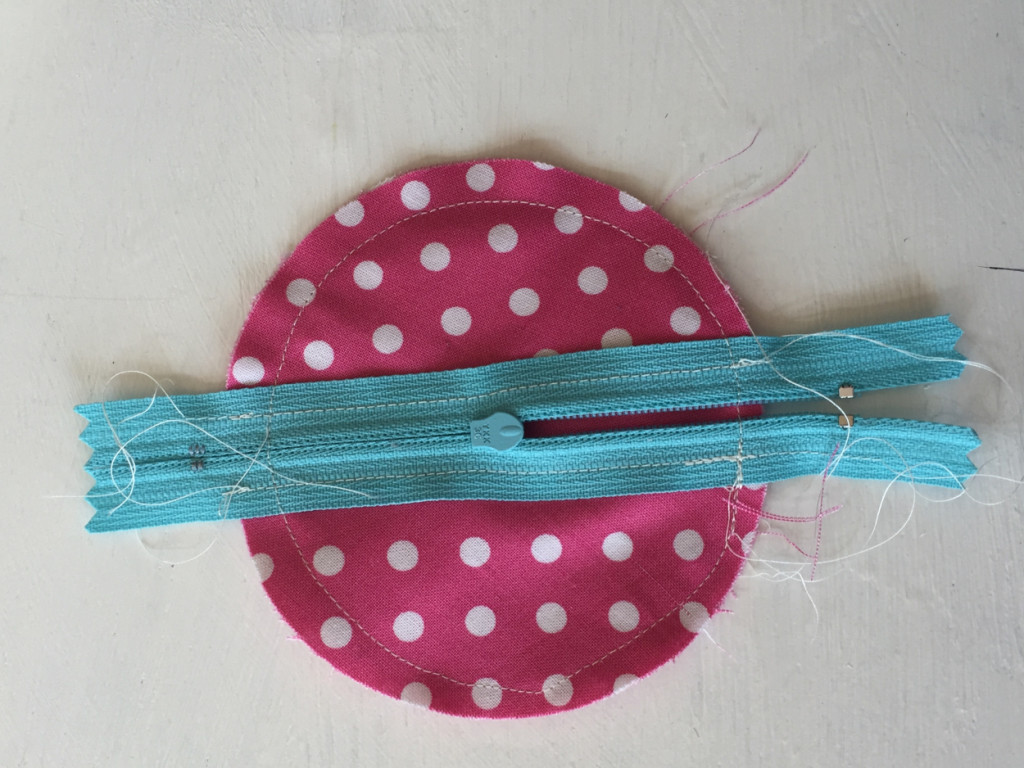
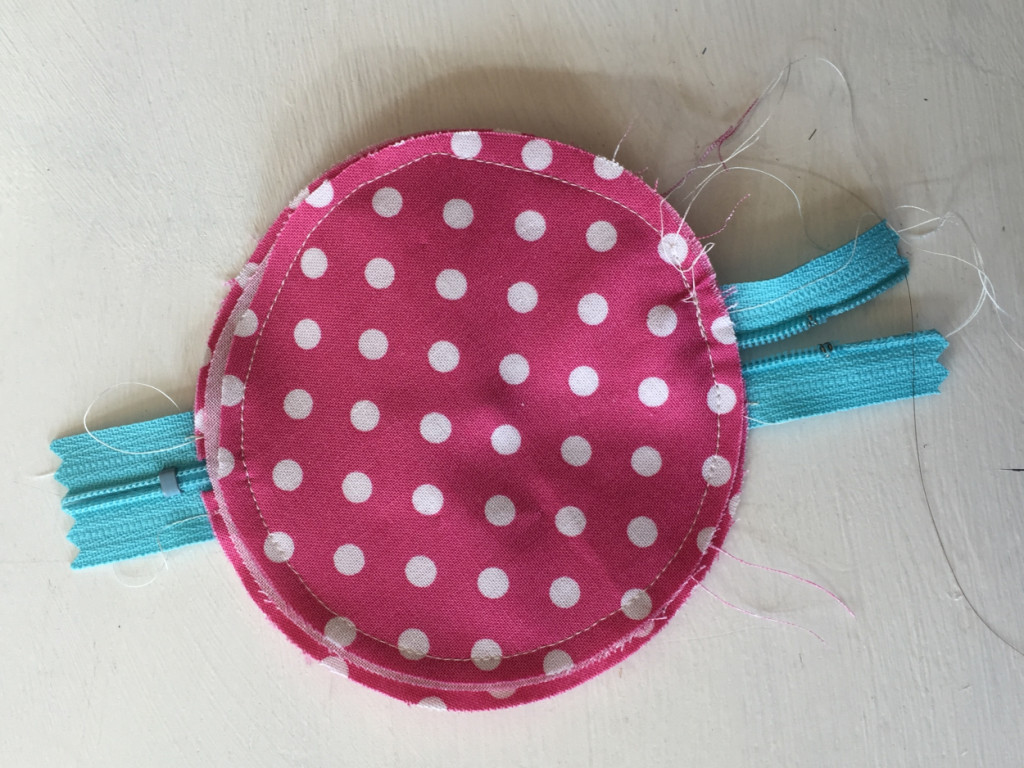
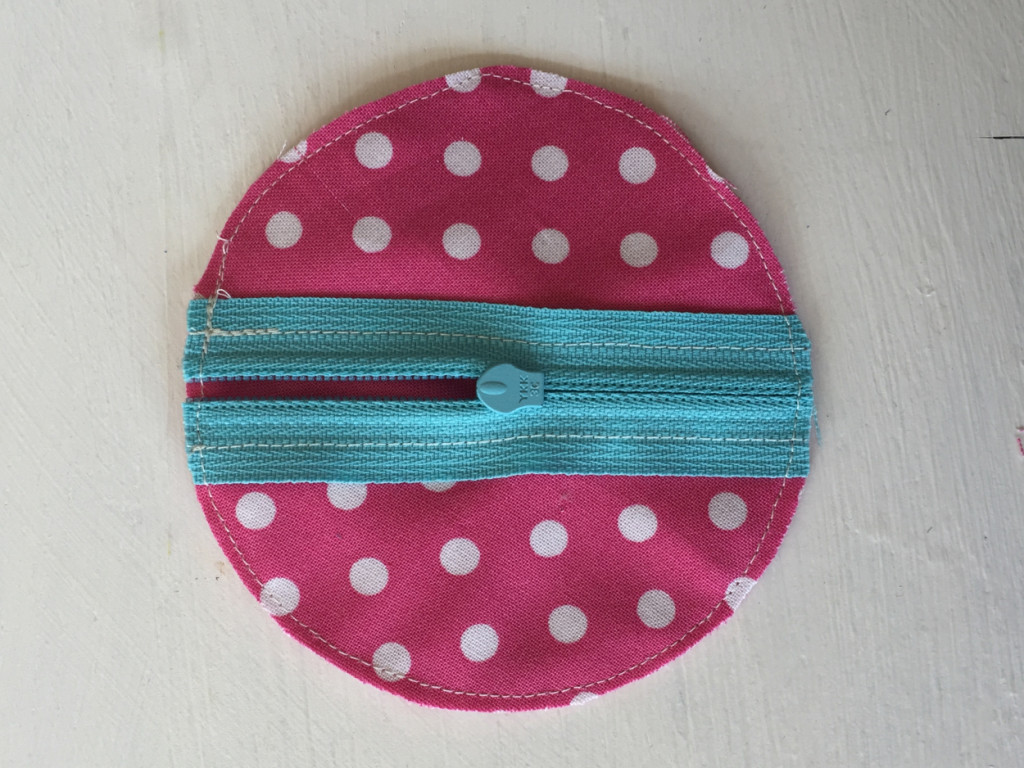
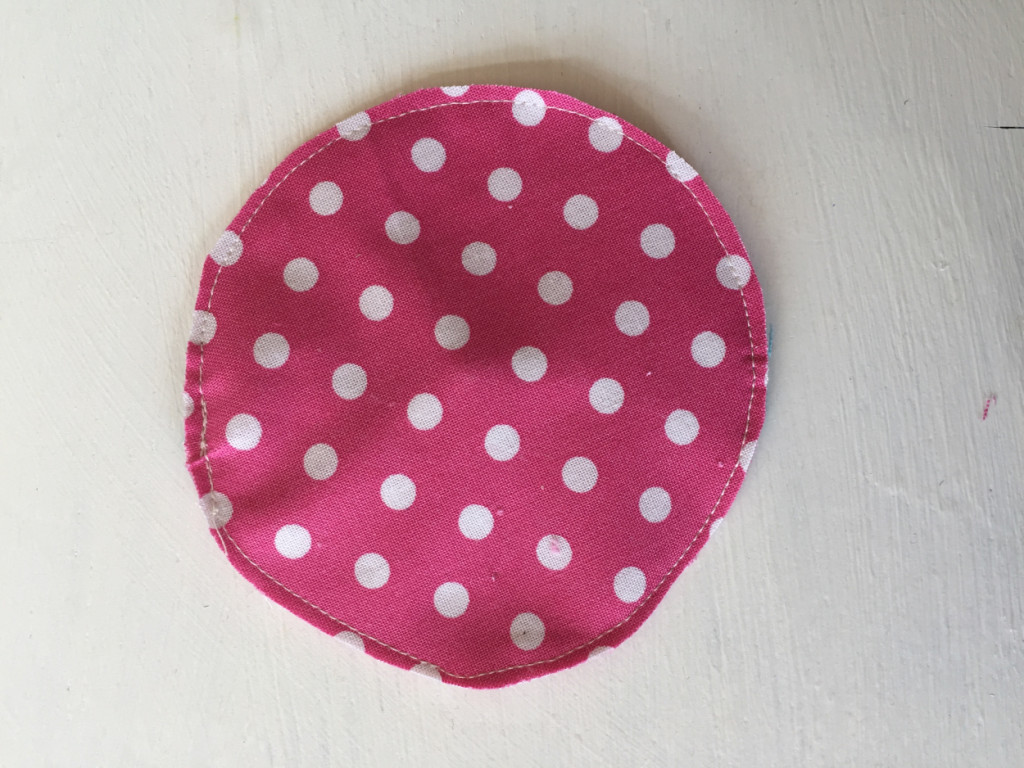
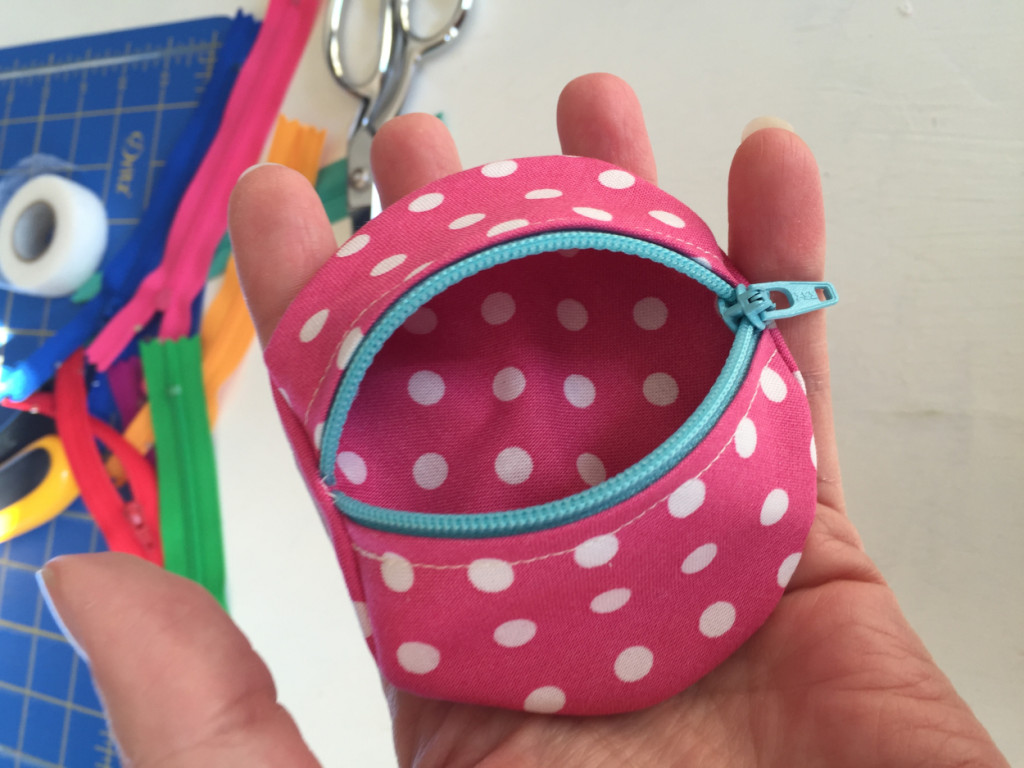
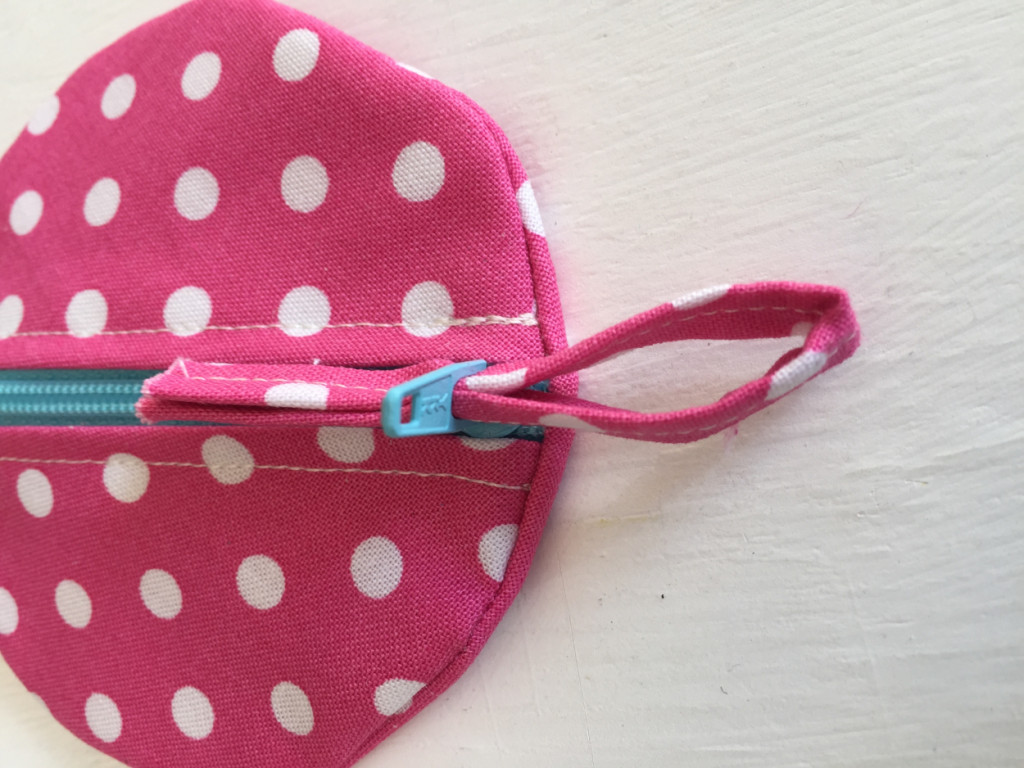
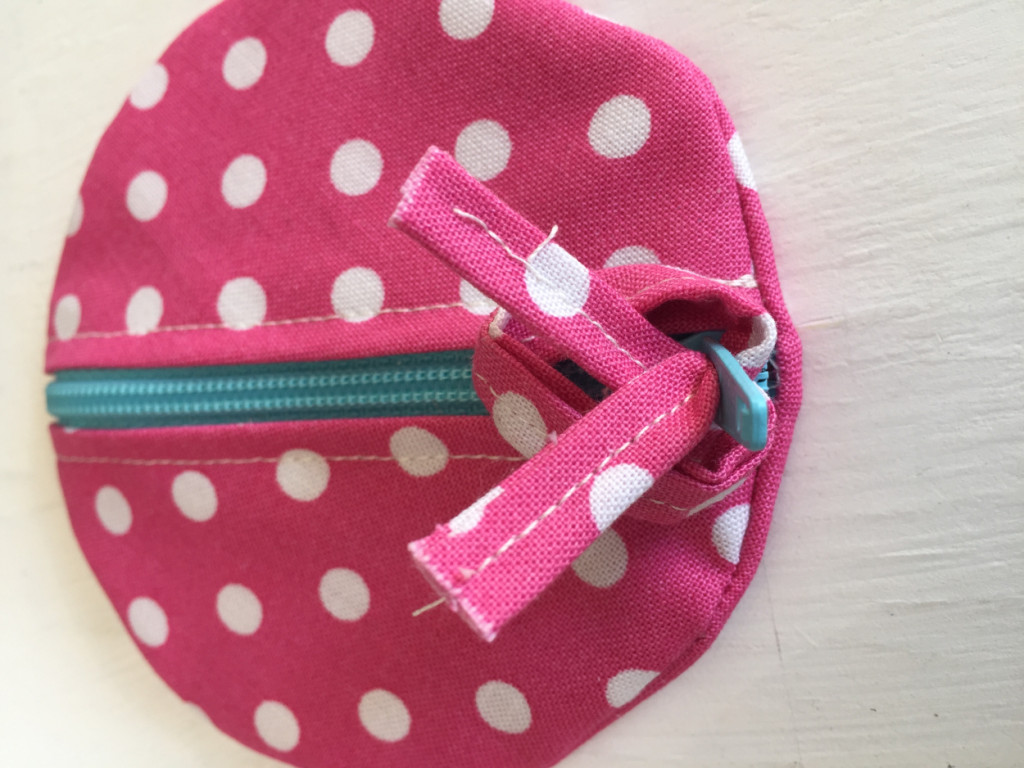
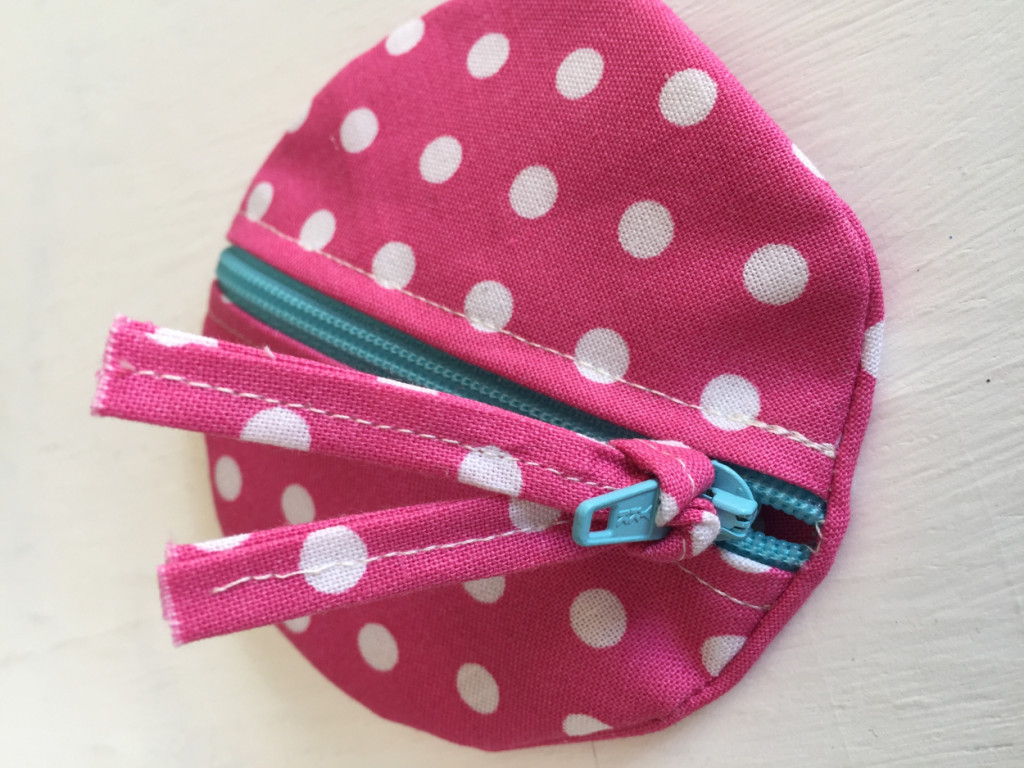
Today I am going to teach you how to sew a Mini Zippered Pouch. You’ll notice this Inspired Project is in a new format which I am calling a photo tutorial. To view the tutorial, simply click on the first image in the gallery below and then click on each image thereafter when you are ready to move on to the next step.
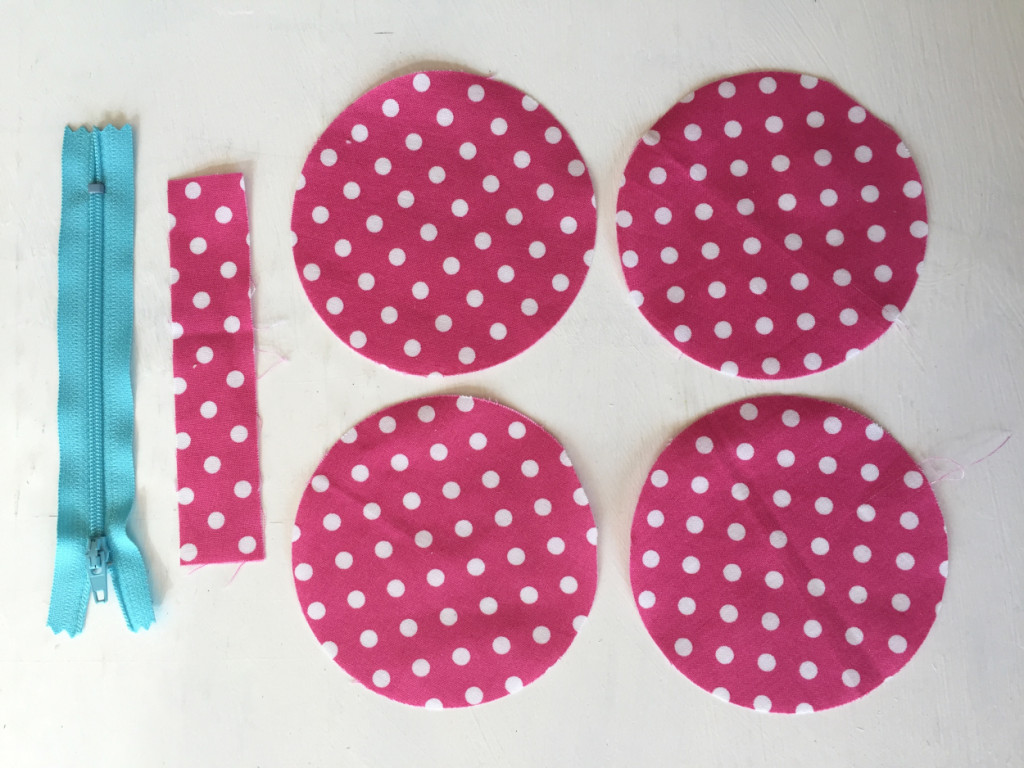
For this project you are going to need:
(4) 4″ circles of cotton fabric
(1) 1″ x 5″ strip of cotton fabric
(1) 6″ zipper
Step #1: Precut and press your fabric.
Step #2: fold two of the circles in half with right sides facing outward and position on either side of the zipper.
Step #3 Attach the zipper to each folded side of the half circles, one side at a time.
Front view with zipper attached.
Back view with zipper attached.
Step #5: Open your zipper halfway.
Step #6: Position the remaining two circles wrong sides together.
Step #7: Place those circles atop of the zippered circle.
Step #8: Pin in place.
Rear view with pins in place.
Step #9: Stitch all the way around your circle using a 1/4″ seam allowance.
Rear view with stitching.
Opposite side view with stitching.
Step #10: trim as close as possible to the stitch line without crossing over.
Opposite side view after trimming.
Zipper Pouch
Step #12: Create your zipper pull tab by folding the fabric as shown and pressing.
View of zipper pull being folded.
Step #13: Stitch down the open end of the strip.
Step #14: slide the raw edges through the largest hole on the zipper pull.
Step #15: loop the raw edges back through the hole and pull tight.
TA-da! One little mini zip pouch complete!
Now grab some essentials and create a mini first aid kit.
Or, fill it up with tiny toys and give it to your favorite little girl!
I hope you enjoyed this project! If you did, please click on the sharing links below and spread the creative joy. Also, if you would let me know in the comments below what type of tutorial format works best for you (video or photo) I would really appreciate it!
Until next week, remember to subscribe to stay inspired!
4 responses to “Inspired Project #4: Mini Zippered Pouch”
Teresa Elgood
Hi Andrea,
Thank you for another great tutorial. I think these little zippered pouches are gorgeous! I am going to make a few for stocking stuffers!! I really liked this style of tutorial although I love the video ones as well.
SewSpire
Hello Teresa! That is a great idea! Please do send me a photo of your little zippered pouch collection when you finish. Thank you for tuning in and for commenting. Happy sewing! Andrea
Donna Simpson
This is so adorable! Off to make one
SewSpire
Happy sewing, Donna! Send me a photo of your zippy pouch 🙂
Comments
4 responses to “Inspired Project #4: Mini Zippered Pouch”
Hi Andrea,
Thank you for another great tutorial. I think these little zippered pouches are gorgeous! I am going to make a few for stocking stuffers!! I really liked this style of tutorial although I love the video ones as well.
Hello Teresa! That is a great idea! Please do send me a photo of your little zippered pouch collection when you finish. Thank you for tuning in and for commenting. Happy sewing! Andrea
This is so adorable! Off to make one
Happy sewing, Donna! Send me a photo of your zippy pouch 🙂