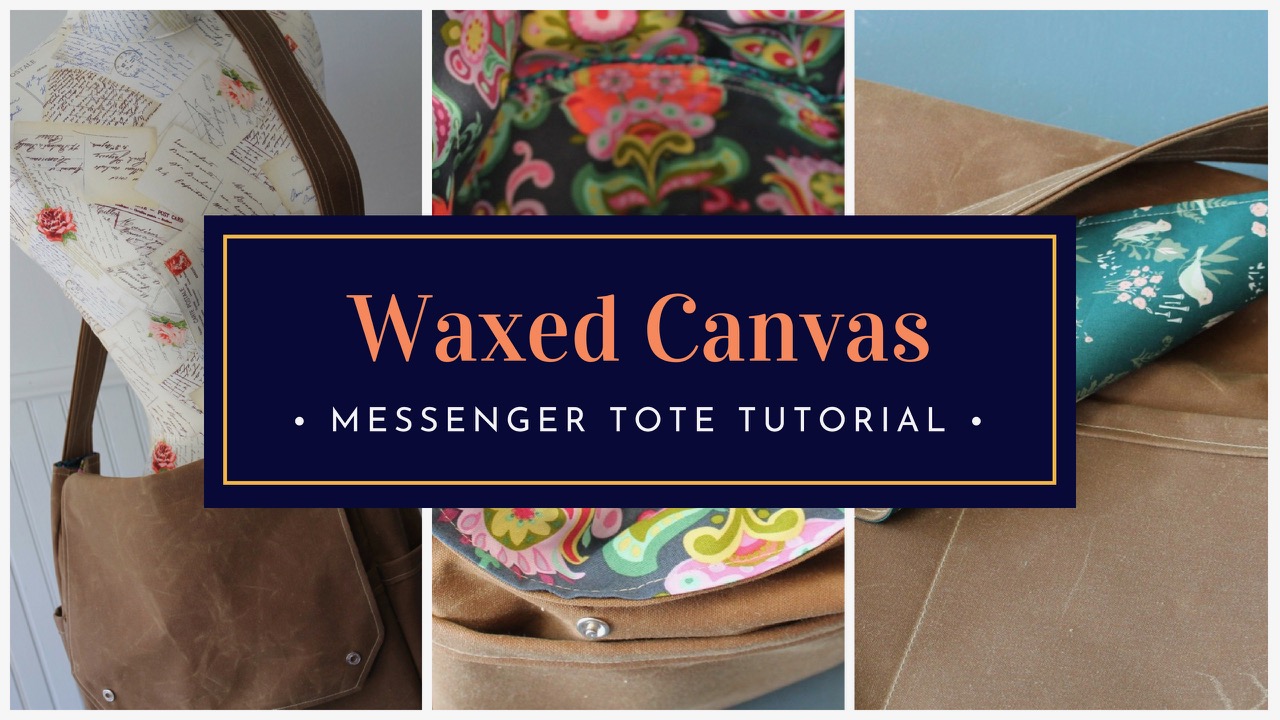
Hey y’all and welcome to Sewspire!
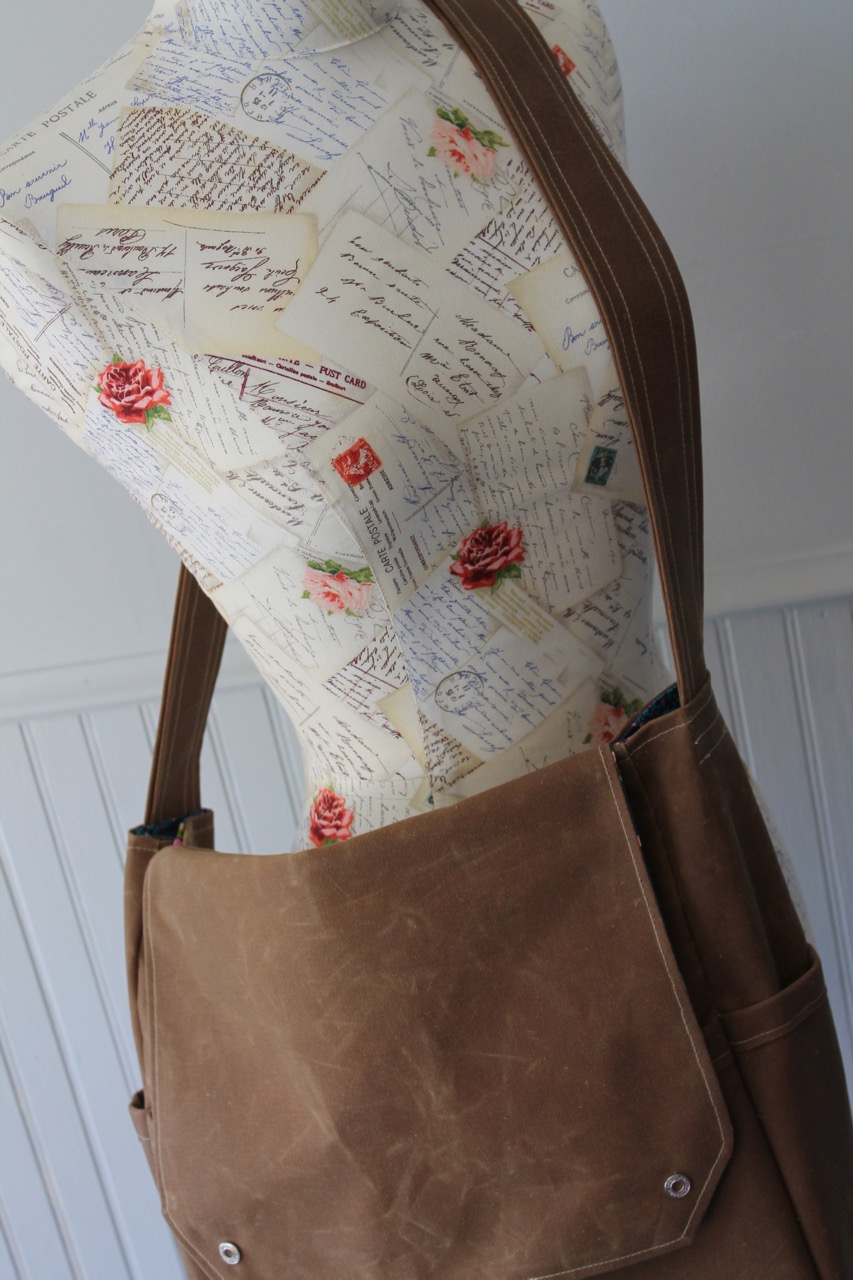
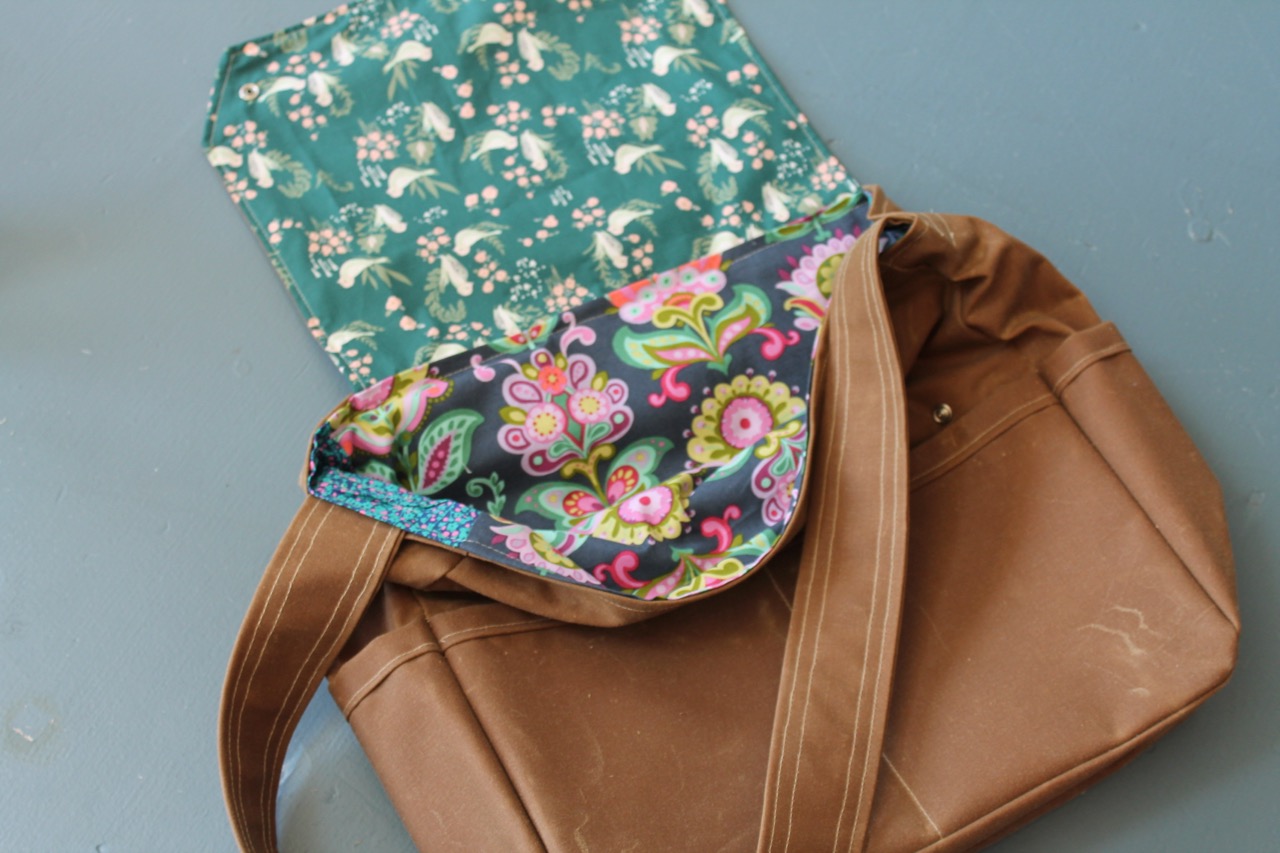
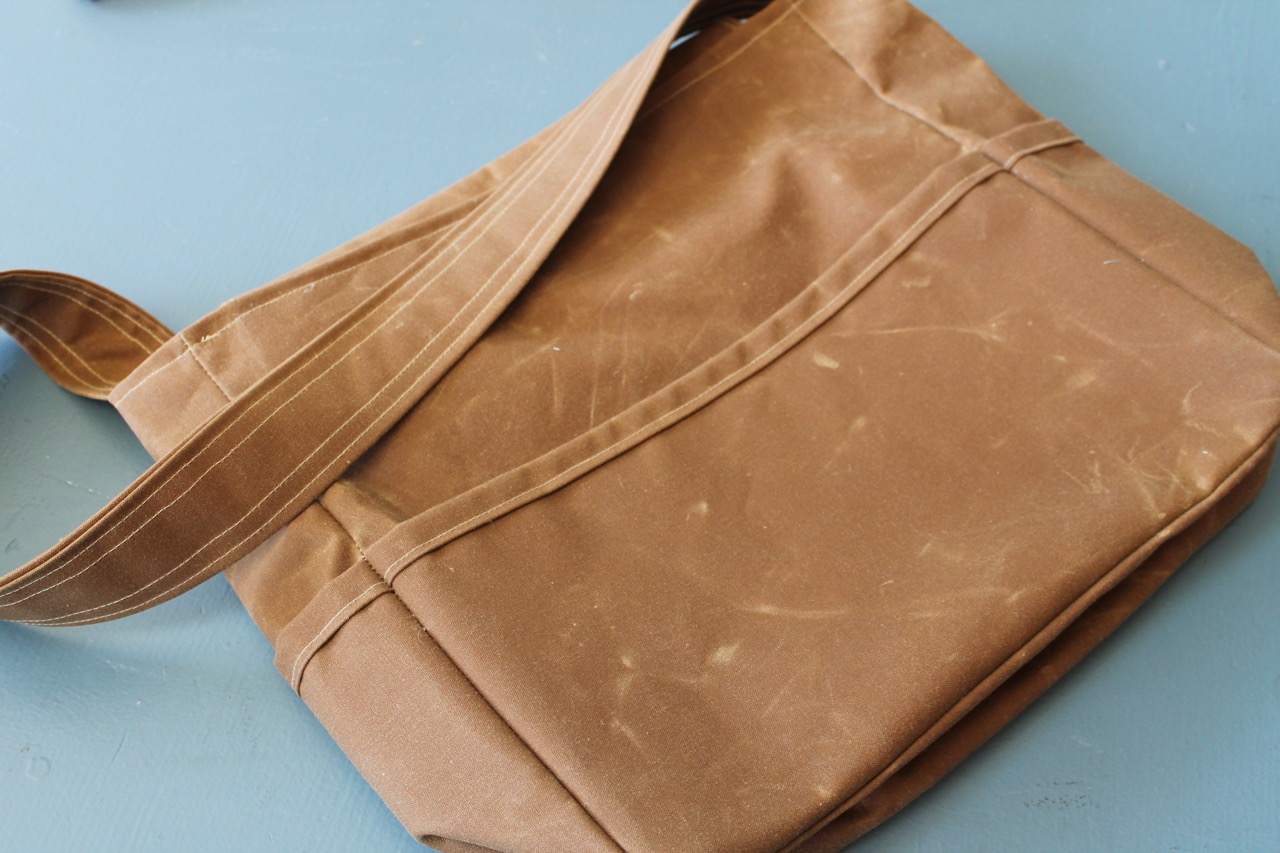
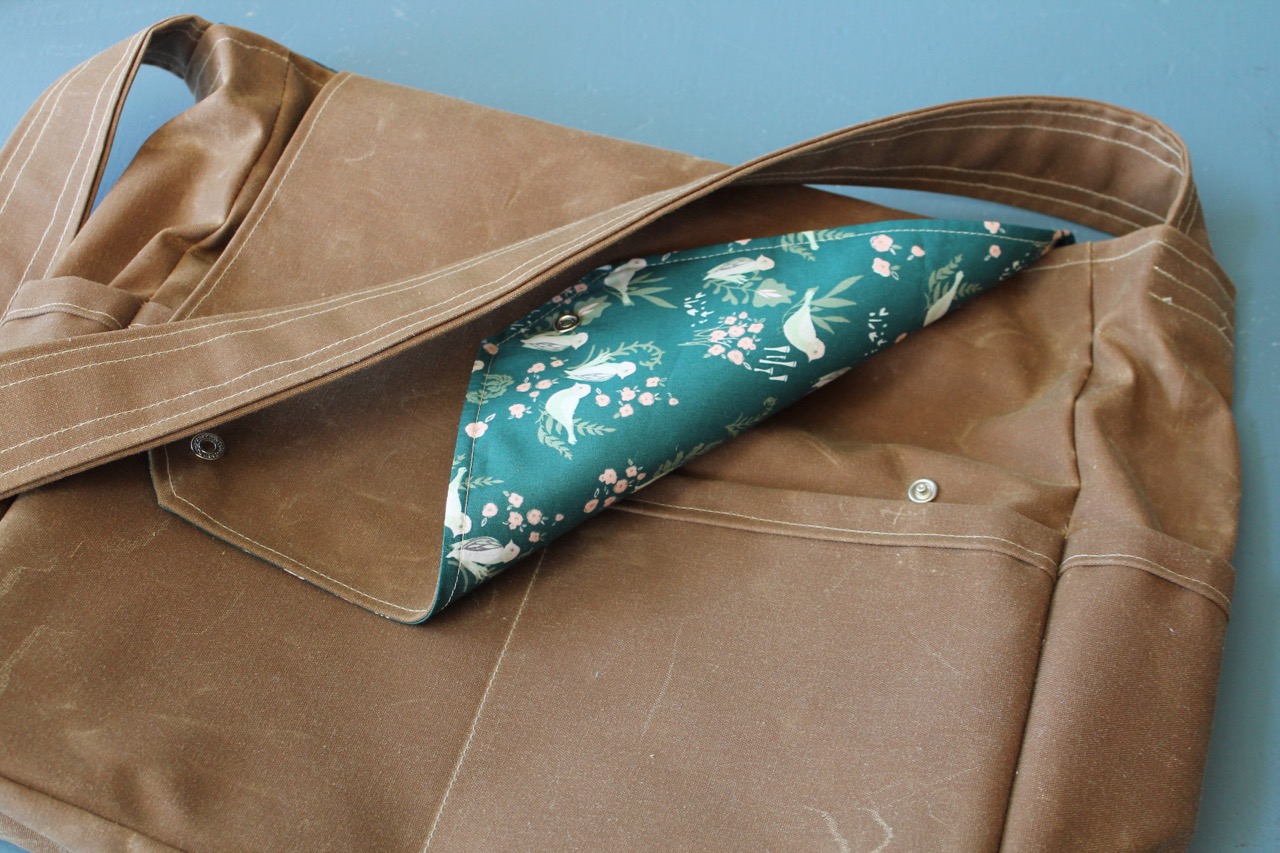
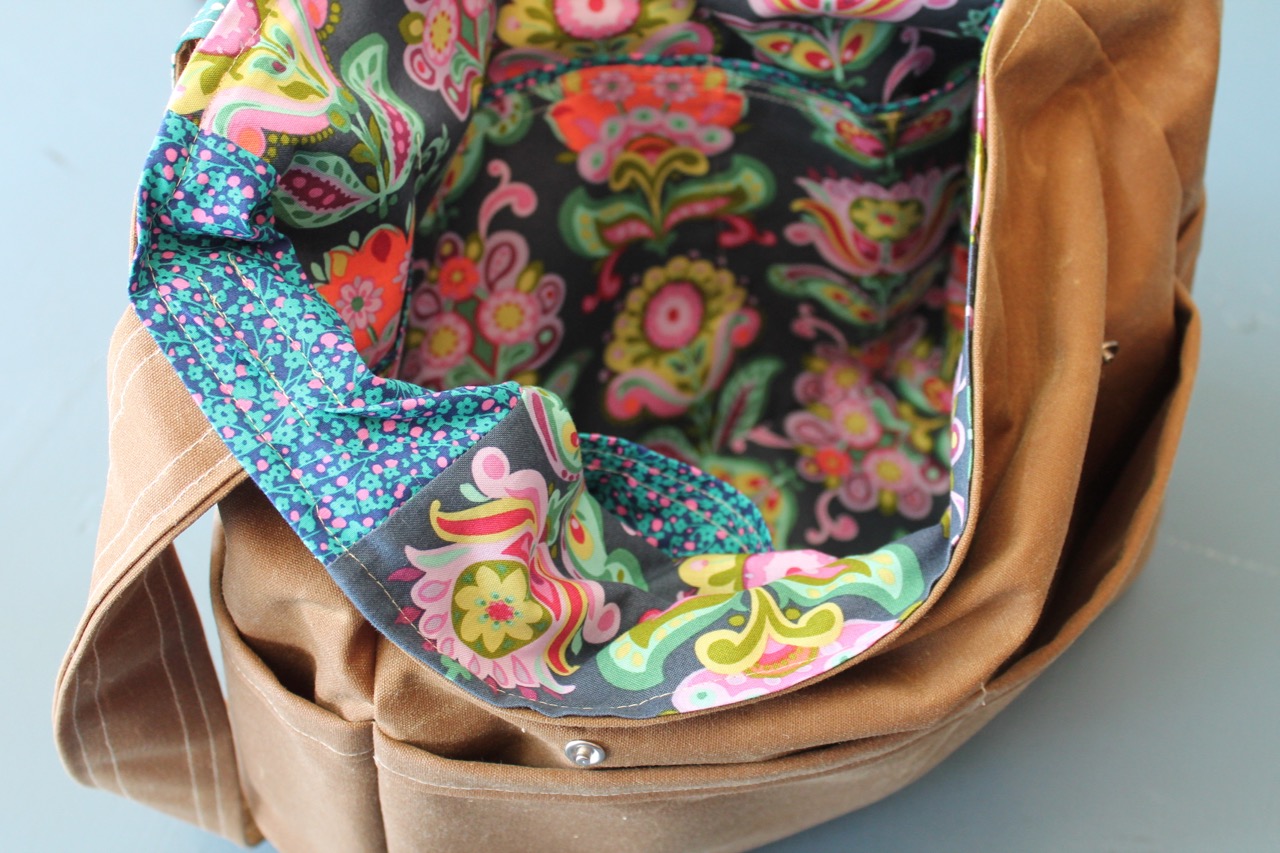
Today I am here to show you how to sew a waxed canvas messenger tote bag. For this project you will need 2 sets of snaps, 1.5 yards of waxed canvas and 1.5 yards of cotton fabric.
Precut your fabric to the following dimensions:
Exterior (waxed canvas):
Cut two 15″ x 15″ body panels
Cut three 6″ x 15″ side panels
Cut one 13″ x 12″ flap panel
Cut two 15″ x 18″ pocket panels
Cut two 6″ x 18″ pocket panels
Cut one 8″ x 36″ strap
Interior (cotton fabric):
Cut two 15″ x 15″ body panels
Cut three 6″ x 15″ side panels
Cut one 13″ x 12″ flap panel
Cut two 15″ x 18″ pocket panels
Cut two 6″ x 18″ pocket panels
I like to use a 5/8″ seam allowance for the interior seams and a 3/8″ or less seam allowance for the top stitching.
The waxed canvas material I used in this tutorial is from Big Duck Canvas and is an absolute dream to work with. It moves through the machine beautifully and offers the bag ample body without the use of interfacing or batting. In addition the waxed canvas will provide the bag with a durable and weather / stain resistant exterior as well as a natural patina similar to the look of leather.
I hope you enjoy the tutorial and will share photos of your finished projects with us on Facebook and Instagram using @sewspire and #sewspire. I will be back next week with a Unicorn inspired sewing project. Until then, please know the creative genius in me will be celebrating the creative genius in you!
XO,
Andrea